Last updated November 21, 2026
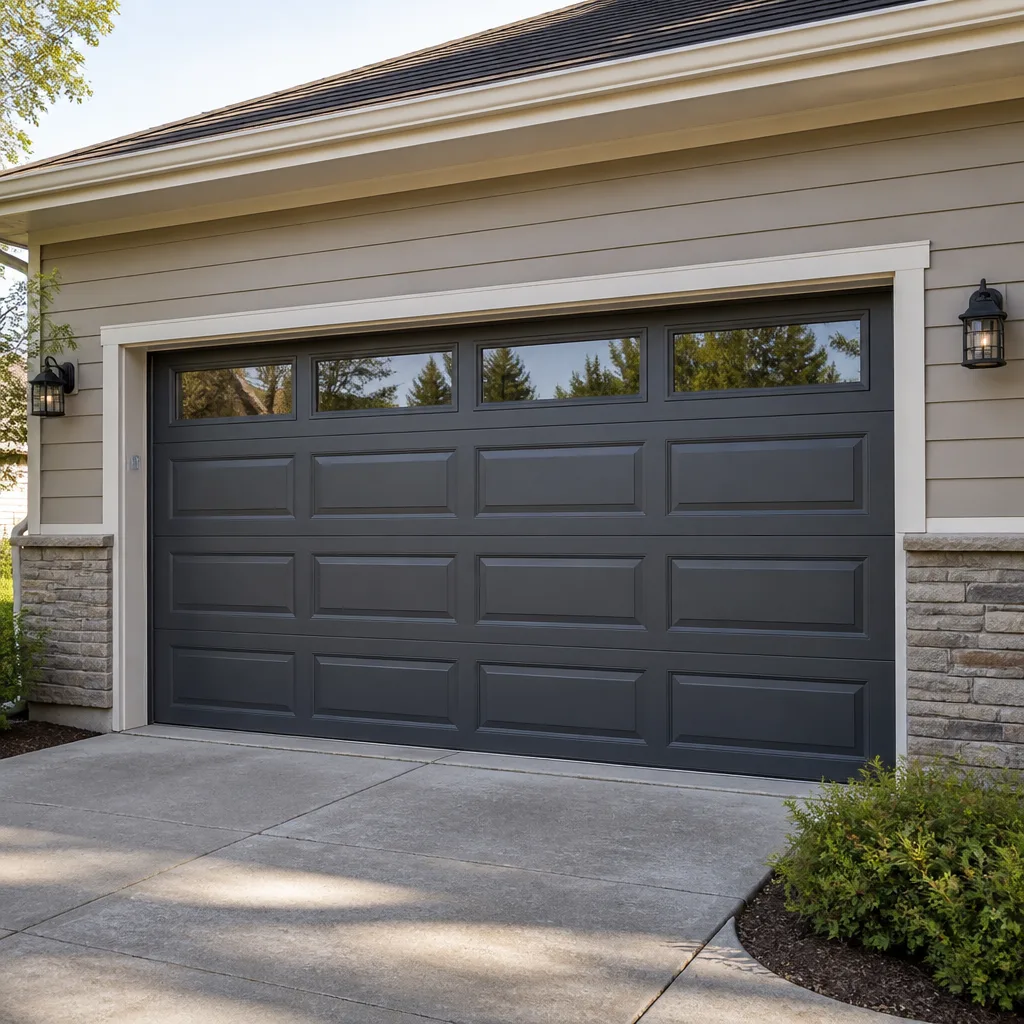 Raised-panel steel
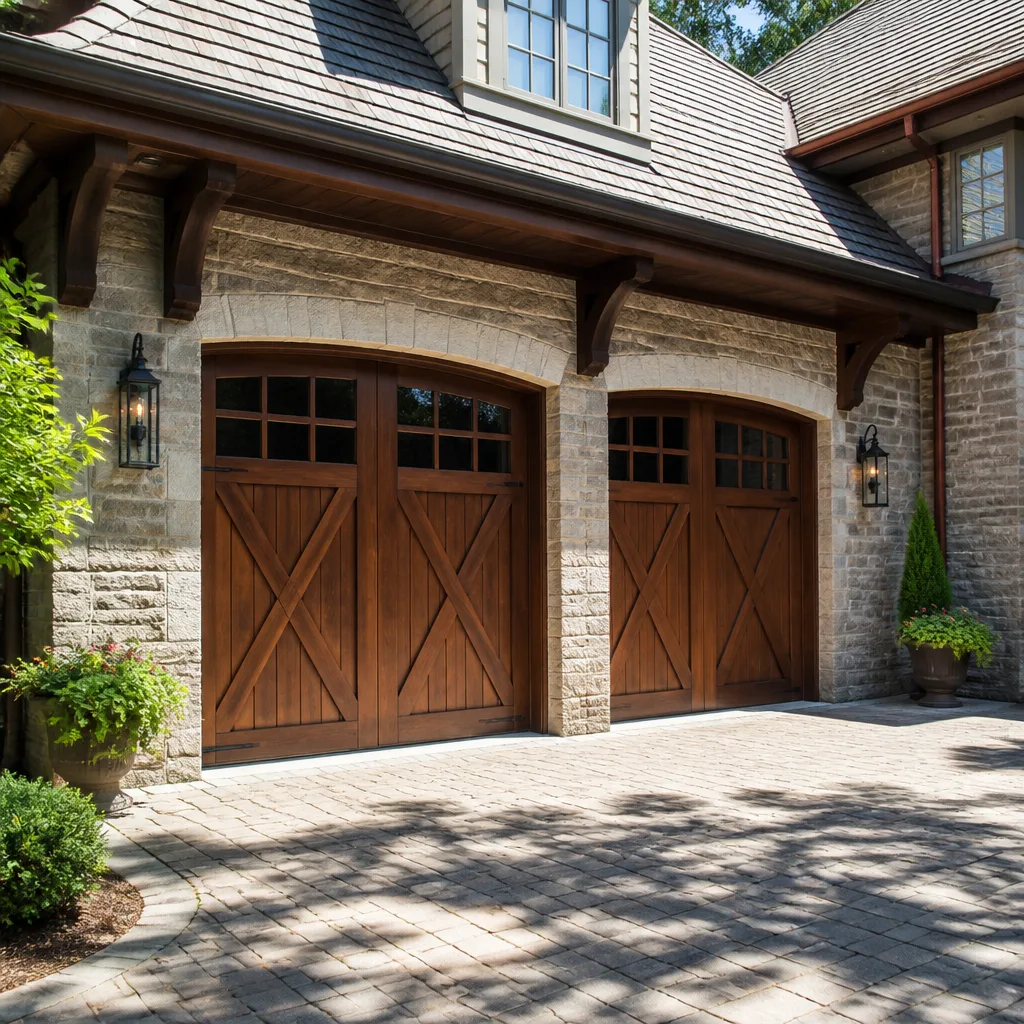 Carriage house
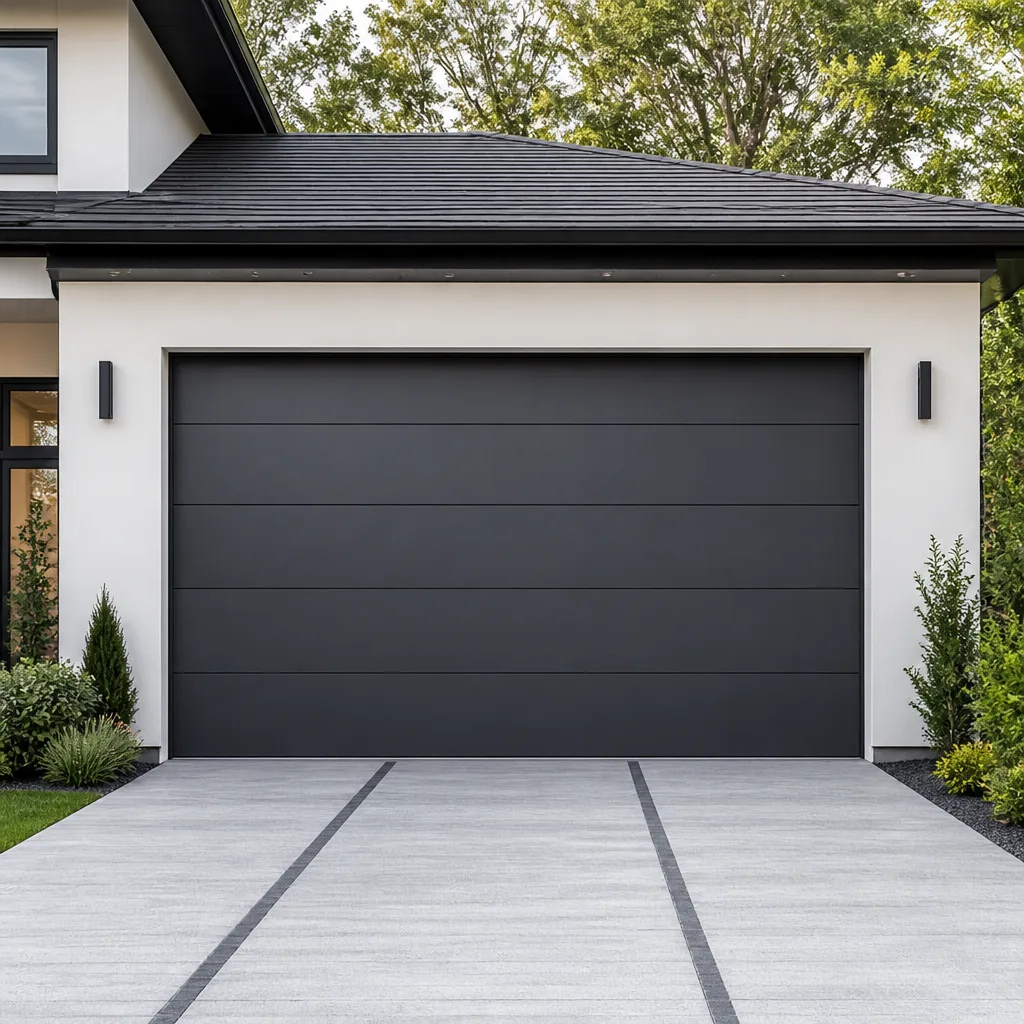 Modern flush
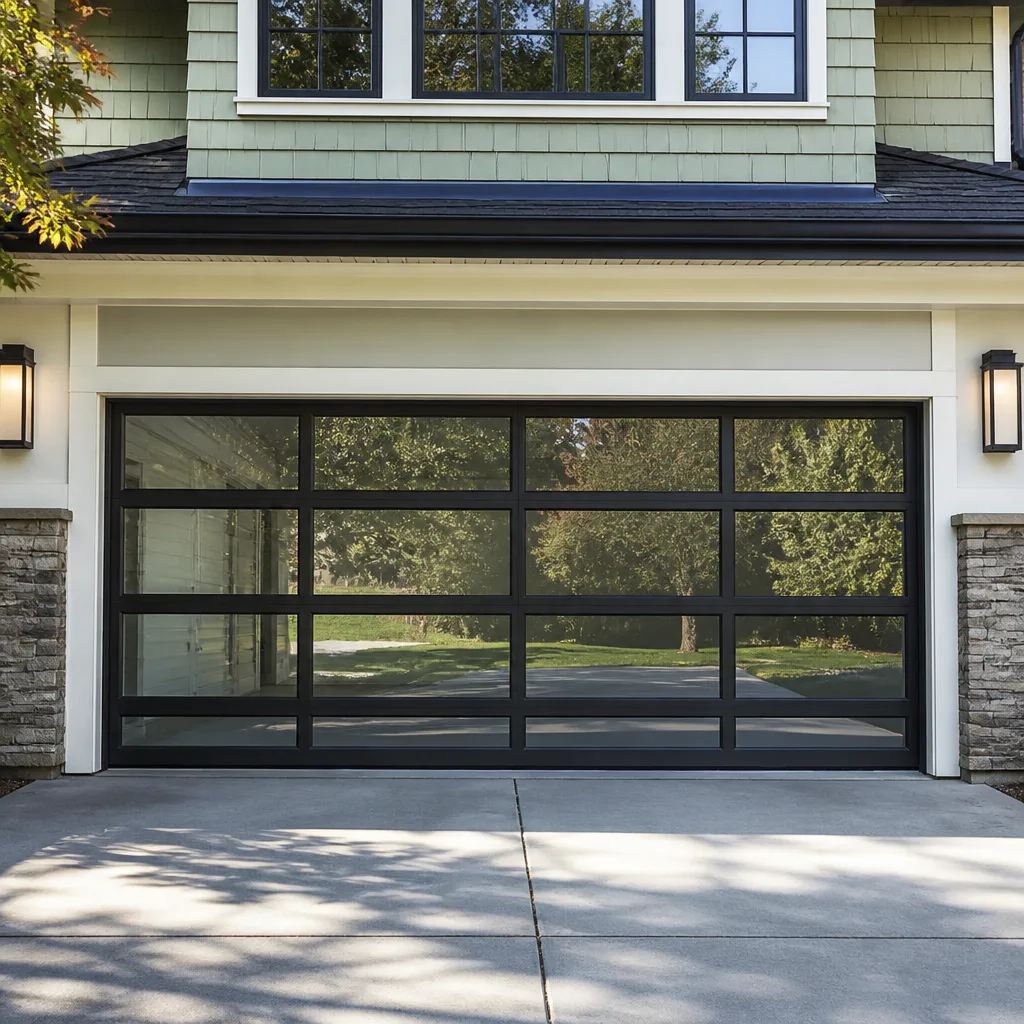 Full-view glass
 LiftMaster openers
 Chamberlain openers
Full 25-point door and opener safety check with every visit - springs, cables, rollers, tracks, and your LiftMaster or Chamberlain opener included
You get a price before we start. It does not change when the pro arrives.
Get your free estimateGarage Door Repair Maintenance Checklist for Yonkers Homeowners
If your maintenance checklist doesn’t tell you what to do first, it isn’t a checklist – it’s a parts catalog. The sequence matters because a seized spring will destroy a cable in one cycle, and a worn cable will wreck a drum before you notice the spring is the real problem. Most garage door guides recycle the same manufacturer PDFs and skip the parts that actually fail first on Yonkers homes: the bottom seal riding on frost-heaved concrete, the cable drum on a door that hasn’t been touched in years, and the logic board inside an opener that swings through uninsulated garage temperatures all winter. This guide is sequenced by failure likelihood, not alphabetically. You’ll learn what to check, in what order, and what to document before you call anyone.
Quick Answer
A garage door maintenance checklist for a Yonkers home should be worked in this order: springs and cables first, then rollers and hinges, then the bottom weatherseal and concrete threshold, then the opener’s safety reverse and force settings, and finally lubrication of the moving metal parts. The order matters because spring and cable failures cascade into drum and track damage, while a worn bottom seal mostly just lets cold air and water in. Check the high-risk parts first, and leave springs and cables to a trained technician if anything looks wrong.
Styles & brands we work with
- Raised-panel steel
- Carriage house
- Modern flush
- Full-view glass
- LiftMaster openers
- Chamberlain openers
Table of Contents
- Why the Sequence of Your Checklist Matters
- Step 1: Springs and Cables – What Fails First
- Step 2: Rollers, Hinges, and Track
- Step 3: Bottom Weatherseal and the Concrete Threshold
- Step 4: Testing the Opener’s Auto-Reverse and Force Settings
- Where to Lubricate (and Where Not To)
- What to Photograph Before You Call a Technician
- Seasonal Timing for a Yonkers Garage Door
Why the Sequence of Your Checklist Matters
A garage door is a system under constant tension. When one part fails, it loads the next part in line. That’s the reason a checklist built around alphabetical order or appearance misses the failure chain. A torsion spring that loses tension doesn’t just stop lifting the door; it lets the door drop its full weight onto the cables, and a cable that’s already stretched or frayed will snap under that load. The drum it wraps around takes the hit next.
On Yonkers doors that are seven to fifteen years old, we see the same order of failure again and again: springs, then cables, then rollers and hinges, then seals and thresholds. Temperature swings across Westchester’s winters speed that up. A garage that holds cold air and then warms quickly in spring works the metal through more cycles of expansion and contraction than a climate with a flat temperature curve.
So the checklist below runs from highest risk to lowest. Each step tells you what you’re looking for and when to stop and call a technician. Springs and cables are the parts you inspect but don’t touch. Rollers, hinges, seals, and lubrication are the parts a careful homeowner can handle.
A quick note on why we care about this order: the parts that fail first are also the parts that are hardest to see. A frayed cable hides behind the door. A fatigued spring looks identical to a fresh one until it breaks. That’s why visual inspection and a trained eye beat guesswork.
Step 1: Springs and Cables – What Fails First
Springs and cables are the highest-risk parts on any garage door, and they’re the first thing on this checklist for a reason. Springs store the energy that lifts the door. Cables carry that energy to the drums at each corner. When either one fails, the door becomes unsafe to operate and can drop without warning.
Here’s what to look at, without touching anything under tension:
- Spring condition: Look at the coils for visible gaps, a stretched section, or rust. On torsion systems, the spring sits on a shaft above the door. On extension systems, two springs run along the horizontal tracks.
- Cable condition: Look for fraying, kinks, or slack on either side. A cable that has jumped its drum is a stop-and-call situation.
- Door balance: With the door closed and the opener disconnected, lift it halfway by hand. A properly balanced door stays put. A door that drops or rises on its own has a spring or cable problem.
- Noise: A sharp bang from the garage often means a spring has broken. A grinding sound can mean a bearing or drum is failing.
We treat spring repair as its own service for a reason. A torsion spring is wound to hundreds of pounds of tension, and releasing that energy wrongly can cause serious injury. This is one place where the checklist stops at inspection. If you see a gap in the coils, a frayed cable, or a door that won’t hold halfway, don’t run the opener to test it. Call a trained technician. Our technicians have up to 15 years of experience, and spring work is one of the jobs we handle most – but we’d rather you never test one yourself.
For urgent situations, like a snapped spring with the car trapped inside, we offer emergency garage door service. That’s a core offering for us, not an afterthought. If your door is stuck and you need it working, see our garage door repair page, or call us directly and we’ll get a technician scheduled.
Step 2: Rollers, Hinges, and Track
Rollers and hinges are the next layer of wear after springs and cables. These are the parts that let the door move quietly and evenly. When they wear out, the door gets noisy, jerky, or starts to bind in the track.
On Yonkers doors that get used several times a day, roller wear shows up faster than most homeowners expect. The garage door often becomes the main entry point for a household, and the door is cycling more than it was designed for.
- Check the rollers: Look at each roller in the track. Steel rollers develop flat spots and get noisy. Nylon rollers wear more smoothly but crack over time. If a roller wobbles or looks chipped, it’s due for replacement.
- Check the hinges: Open the door halfway and look at each hinge connecting the panels. Loose screws, bent leaves, or rust at the pivot point are signs of wear.
- Check the track: Run your hand along the inside of the vertical and horizontal tracks. A good track is smooth and straight. Dents, bends, or debris indicate a problem. Never force a bent track back into shape; a misaligned track can throw the door off its rollers.
- Check the panels: Look for cracks, dents, or separation between panels. On older doors, especially steel models, panel damage often means a replacement decision rather than a repair.
This is also where brand matters. If your door is a Clopay, Amarr, Wayne Dalton, or Raynor, the roller and hinge hardware is brand-specific. Generic parts may fit but won’t wear the same way. We’re trained to service equipment from all of these manufacturers, so we work with the door you already own rather than pushing a replacement.
Step 3: Bottom Weatherseal and the Concrete Threshold
The bottom weatherseal is the rubber strip along the bottom edge of the door. It’s the part most likely to fail silently. A worn seal lets cold air, water, and small pests into the garage, and it also affects how the door meets the floor.
In Yonkers, the seal and the concrete slab beneath it have a specific relationship. Concrete slabs move with freeze-thaw cycles. Water gets into small cracks, freezes, expands, and lifts the slab. Over several winters, the threshold under your garage door can heave or settle, so the door no longer meets the floor evenly. Your seal then has to bridge a gap it wasn’t designed to close, and it wears out faster.
Here’s the inspection:
- Check the seal from inside: With the door closed, look for daylight coming under the bottom edge. A thin line is normal. A wide gap means the seal has compressed or the slab has shifted.
- Check the seal material: Run your hand along the bottom. Cracks, hardening, or chunks missing mean it’s time for a new seal. Rubber seals harden with age and no longer spring back.
- Check the concrete threshold: Look for cracks, spalling (surface chunks flaking off), or a noticeable slope. A threshold that has heaved or settled won’t let the seal do its job no matter how new it is.
- Check the sides and top: The side and top seals also wear. A gap at a corner is a spot where water and cold air sneak in.
A seal replacement is one of the more affordable maintenance items on this list. If the concrete threshold is the real problem, a technician can recommend whether a threshold seal or repair is the better route. For a door where seals, panels, and hardware are all worn together, sometimes garage door installation is the more sensible path – and we’ll tell you which one actually makes sense rather than defaulting to a sale.
Step 4: Testing the Opener’s Auto-Reverse and Force Settings
Your garage door opener has two safety features you can test without specialized tools: the auto-reverse on obstruction and the force setting. Both matter for safety and both drift over time, especially on openers exposed to the temperature swings of an uninsulated Yonkers garage.
A logic board that sits in a garage going from 20 degrees in January to 80 degrees in July works through a lot of thermal cycling. That’s one reason opener faults show up as doors that reverse for no reason, fail to close, or stop halfway.
Here’s how to test both features:
- Test auto-reverse with an obstruction: Place a piece of wood or a rolled-up towel on the floor under the door, in the middle of the opening. Close the door using the wall control. The door should reverse when it touches the object. If it keeps pressing down, stop and don’t use the door again until a technician checks it.
- Test the safety sensors: With the door open, wave your hand across the sensor beam at the bottom of the tracks. The door should not close while the beam is broken. If the door closes anyway, the sensors are misaligned or faulty.
- Check the force setting: Close the door and listen. If it slows, strains, or reverses partway down with nothing in the way, the force setting is likely too low. If it slams down and won’t reverse on contact, it’s too high.
- Note what kind of opener you have: Smart openers with Wi-Fi and app control, and older mechanical units, both have force settings, but the adjustment method differs. Write down the brand and model before calling anyone.
What the numbers mean for safety is simpler than it looks: the door should reverse on contact with a modest obstruction, and it should not close through the sensor beam. If it does either, it fails the safety test and needs attention. We repair openers from LiftMaster, Chamberlain, Craftsman, Genie, and other leading systems. If your opener is failing the safety test, see our garage door opener repair page.
Where to Lubricate (and Where Not To)
Lubrication keeps a garage door quiet and smooth, but the parts people lubricate most aren’t the parts that need it. Most homeowners hit the track and the rollers and skip the points that actually seize. Here’s the correct short list.
Lubricate these:
- Torsion spring coils: A light spray on the coils helps reduce friction and noise between the coils. This doesn’t extend the spring’s life, but it quiets the door and reduces wear on the adjacent parts. Don’t overload the spring; a light coat is enough.
- Cable drums: A small amount of lubricant at the drum helps the cable wrap smoothly. This is a part where a technician should look first if there’s any noise or fraying.
- Rail trolley: The trolley that travels along the rail above the door benefits from a light lubricant. A dry or rough trolley is a common source of noise.
- Hinges and pivot points: A drop of lubricant at each hinge pivot keeps the panels moving freely.
Don’t lubricate these:
- Rollers with sealed bearings: These are designed to run without added oil. Lubricant attracts dirt and can actually shorten their life. If they’re noisy, they need replacement, not oil.
- The track: A garage door track should stay clean and dry. Lubricating the track collects grit and causes the rollers to bind. Wipe it down instead.
How often? Twice a year is a reasonable baseline for a Yonkers garage door. If your door gets heavy use, aim for quarterly. Pick a time before the cold season and again after it, when you’re already doing the inspection pass.
What to Photograph Before You Call a Technician
Getting an accurate quote starts before you pick up the phone. The more specific you are, the more accurate the number you’ll get, and the less chance of a surprise when the technician arrives. This is the part most maintenance guides skip entirely.
Photograph and note the following:
- The whole door, closed and open: One shot from the driveway, one from inside the garage with the door up. This shows the door type, panel condition, and track layout.
- The springs: Close-up of the torsion spring above the door or the extension springs along the tracks. Note whether it’s one spring or two, and any visible gap in the coils.
- The cables and drums: Photos of both sides where the cables meet the drums. Fraying, kinks, or slack show up clearly.
- The bottom seal and threshold: A photo of the gap between the door and the floor, and a photo of any cracks or heaved concrete at the threshold.
- The opener label: A clear photo of the brand and model sticker on the opener motor. This tells the technician exactly what system they’re working with before they arrive.
- A short video of the door in motion: If the door jerks, hesitates, or reverses, record it. A technician can often diagnose the issue from the video and arrive with the right parts.
With that in hand, a technician can quote from a photo in many cases, and the in-person visit becomes a confirmation rather than a sales call. A good estimate should be free and given before any work starts, not after. When you call our Garage Door Repair Yonkers Pros team, we’ll ask for these details and give you a written estimate you can compare.
One more thing to write down: the date, what you observed, and what you did about it. A simple log of when the door was last serviced and what was done helps any technician diagnose future problems faster. It also helps you notice patterns, like a door that gets noisy every winter.
Seasonal Timing for a Yonkers Garage Door
Garage doors don’t fail on a calendar, but the seasons in Westchester create two natural checkpoints. Put your two annual inspections around them and the rest of the year takes care of itself.
Late fall, before the cold: This is the big one. Check the seal and threshold before freeze-thaw cycles start. Lubricate the moving parts while it’s still easy to work outside. Test the opener’s force setting; cold thickens the grease in the opener and the hinges, and a marginal force setting that worked in summer can cause the door to strain or reverse in January. Make sure the safety sensors are clean and aligned before you need them in the dark months.
Early spring, after the cold: Recheck the concrete threshold for new cracks or heaving. Look at the bottom seal again for compression or hardening after the cold. Check the springs and cables for any wear that showed up over the winter. Spring is also the right time to look at the panels for any damage from winter.
Between those checkpoints, a monthly pass takes five minutes: run the door, listen, and look. If it sounds different or moves differently, don’t wait for the next seasonal inspection. A door that starts to strain is telling you something before it breaks.
For a door that’s off-track, has a snapped spring, or won’t move at all, our emergency garage door service is built for those situations. You don’t have to wait for a scheduled appointment when the car is trapped or the garage is your main entry. Call us and we’ll book the fastest available option.
Common Mistakes to Avoid
- Starting with the opener when the problem is mechanical. If the door is heavy, straining, or binding, the opener is trying to lift a door it can’t handle. Replacing the opener without fixing the springs or rollers just wears out the new unit.
- Lubricating the track. Oil and grease on the track collect grit and cause rollers to bind. A clean, dry track works better. Wipe it down and leave it alone.
- Ignoring the concrete threshold. In Yonkers, freeze-thaw cycles heave and settle the slab under the door. A new seal can’t fix a gap the concrete created. Inspect the threshold along with the seal.
- Testing a door with a broken spring. If you see a gap in the spring coils, don’t run the opener to “see if it still works.” The door can drop suddenly, and the risk to anyone underneath is real.
- Skipping the safety reverse test. The opener’s auto-reverse is the main protection against the door closing on a person, pet, or object. Test it twice a year, every year. It’s one of the few five-minute checks that matters most.
- Buying generic parts for a branded door. A Craftsman, Raynor, Clopay, or Amarr door has hardware designed for it. Generic rollers and hinges may fit but wear differently and cause noise or misalignment.
- Calling without photos. A vague “my garage door is broken” call gets a vague estimate. Photos of the springs, cables, opener label, and door gap get you a specific number before the visit.
See the difference
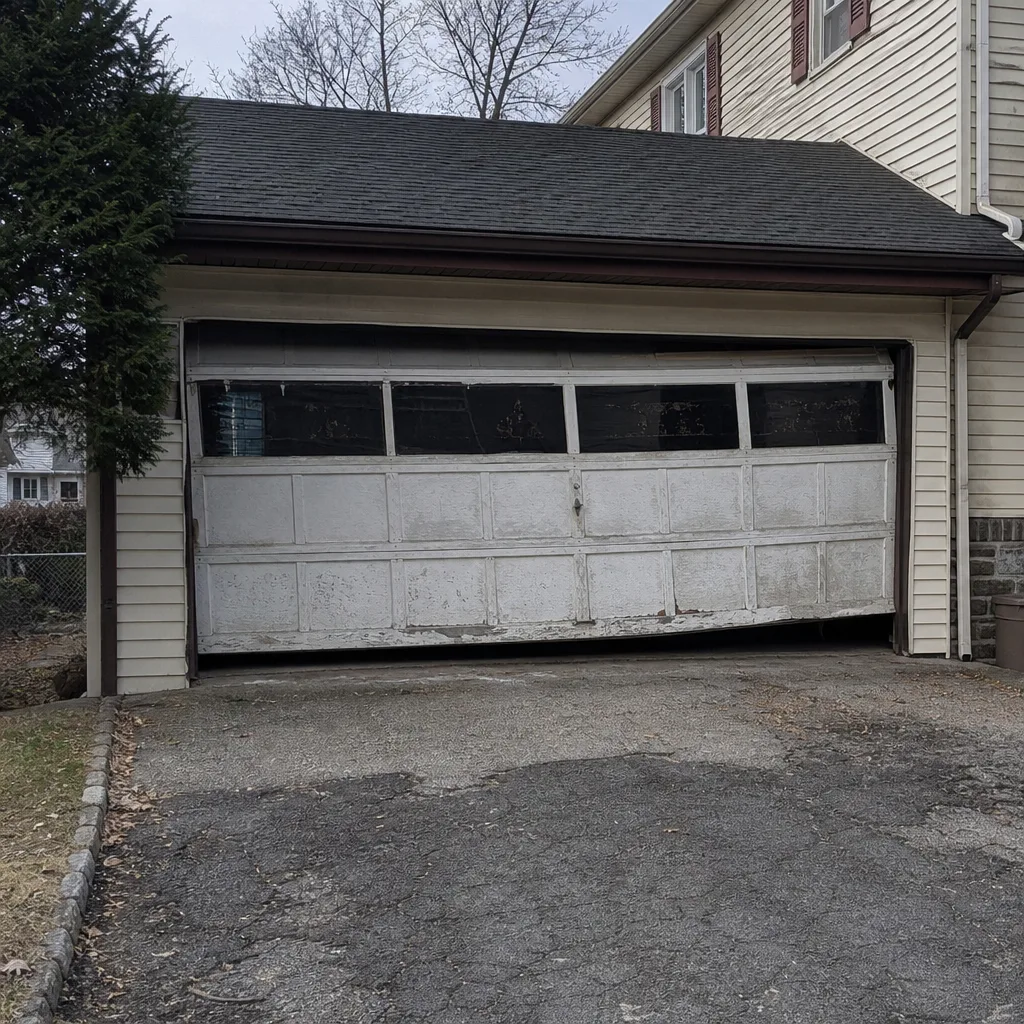 Before
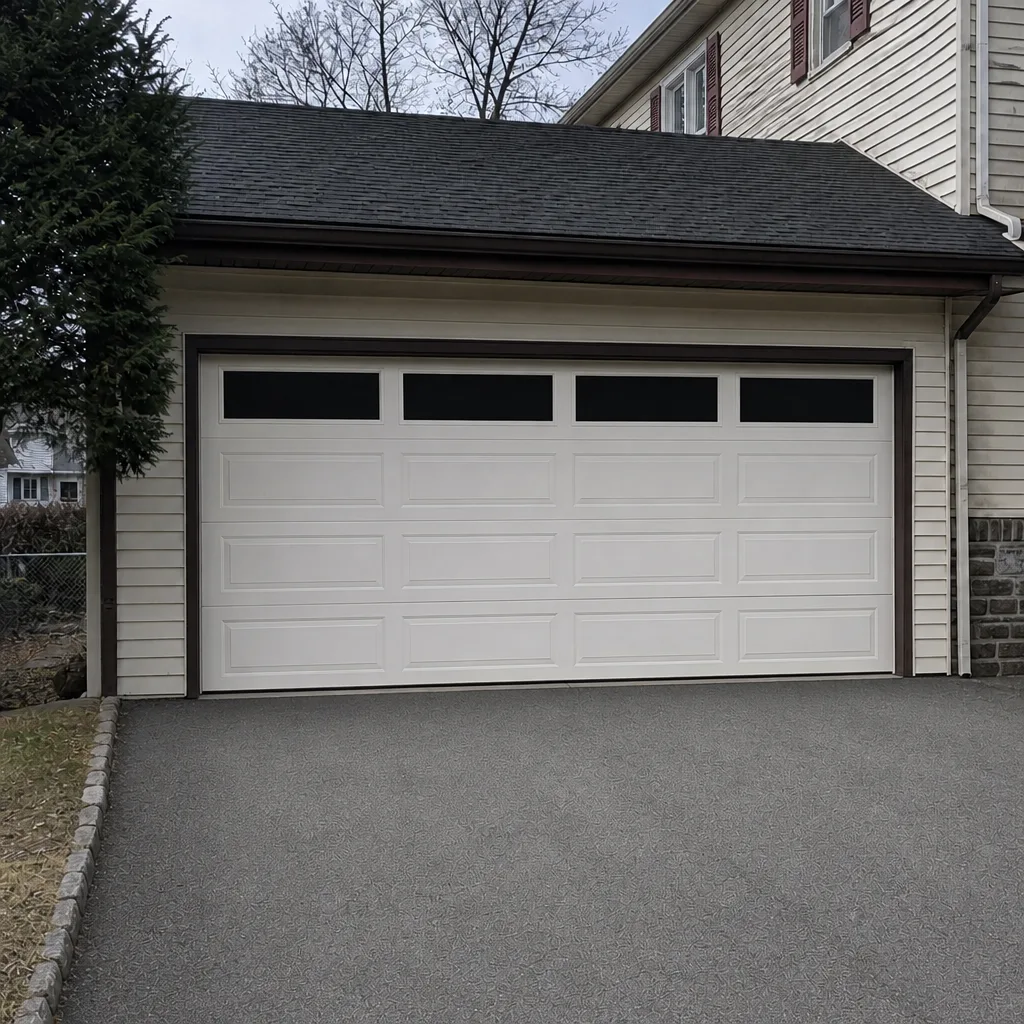 After
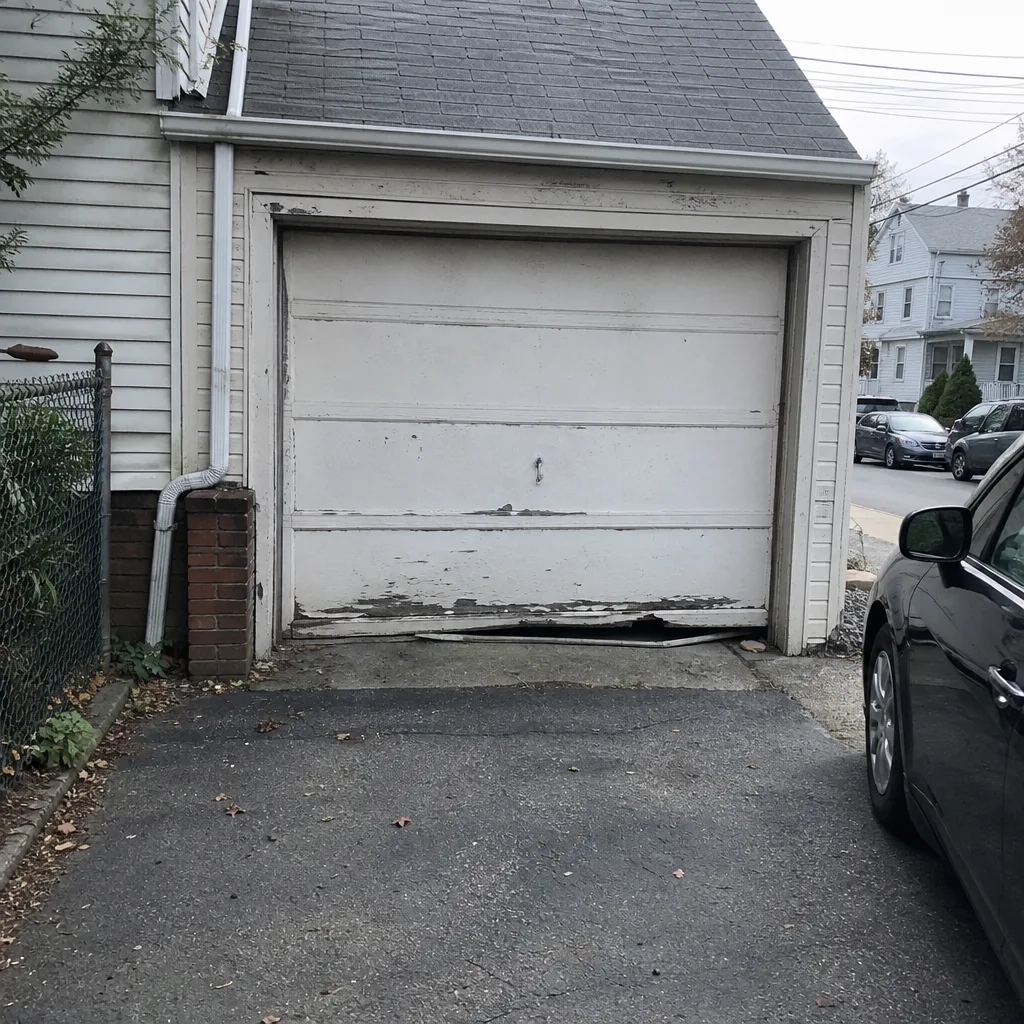 Before
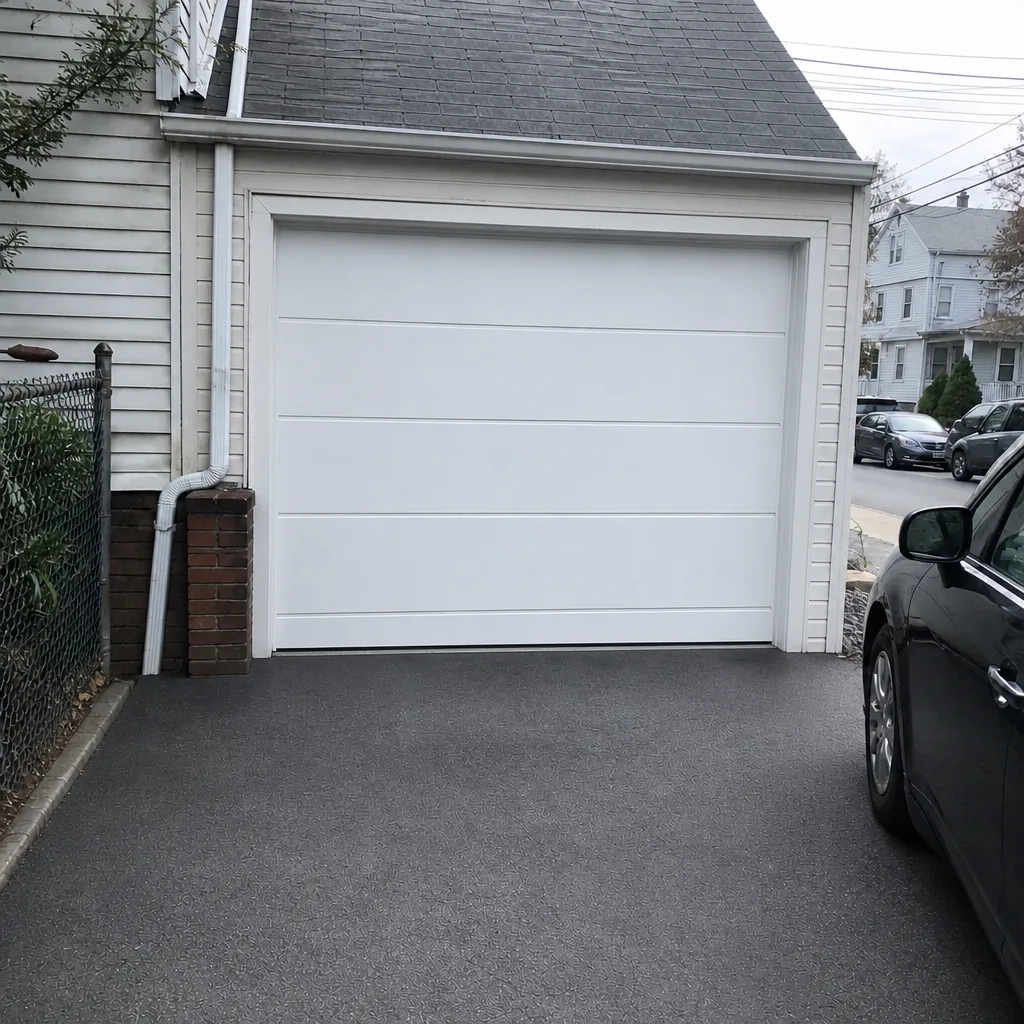 After
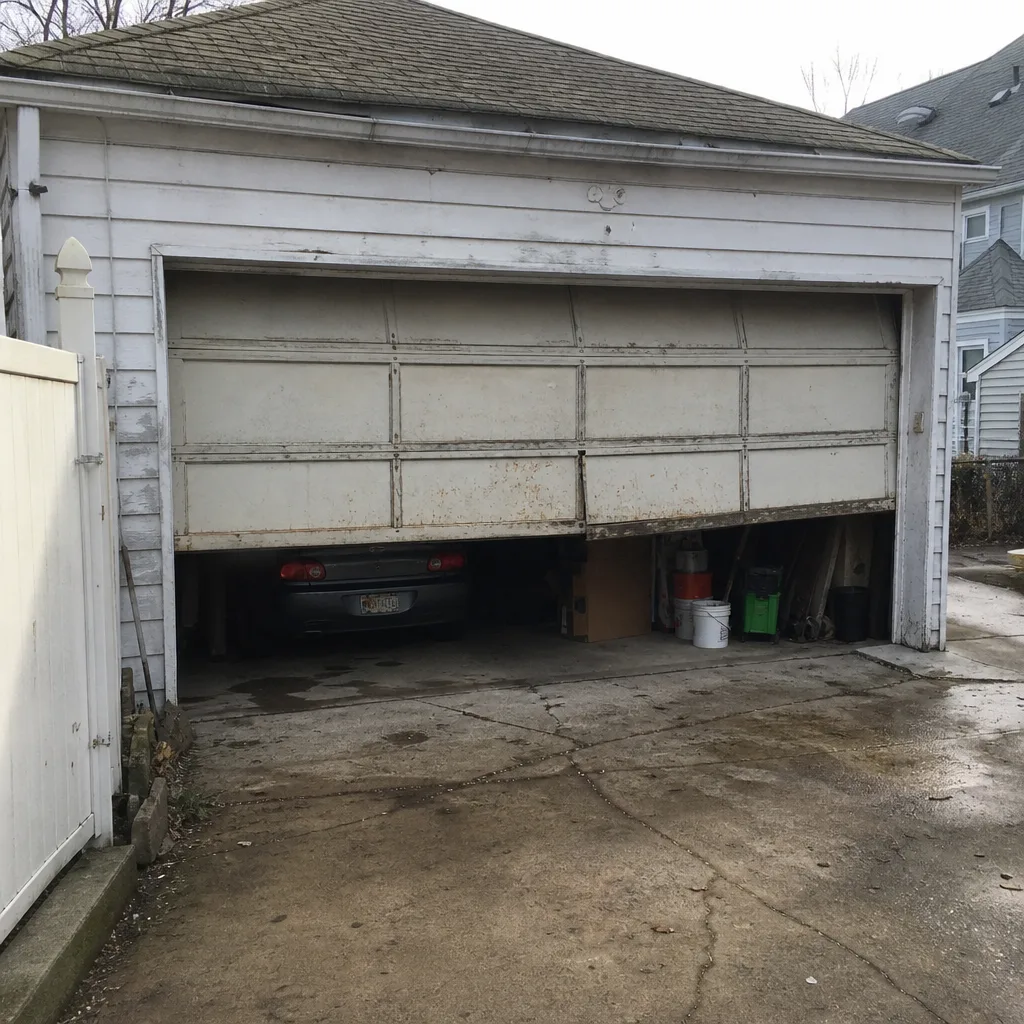 Before
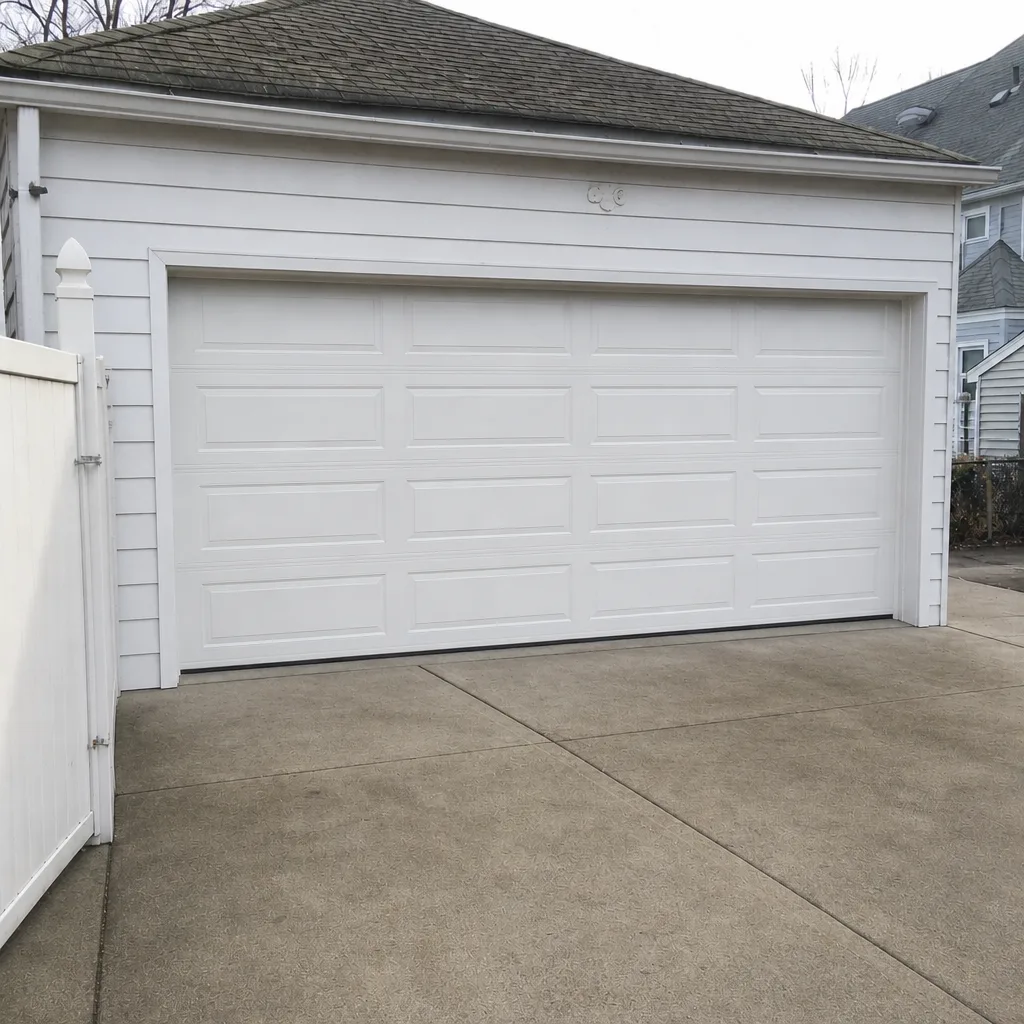 After
When to Call a Professional
Some tasks belong on your list and some belong on ours. Call a technician if any of the following is true: you see a gap in the torsion spring coils, a frayed or slack cable, or a door that won’t hold halfway up; the door is off its track or making grinding noises; the opener fails the safety reverse test or reverses for no reason; the door is heavier than usual to lift by hand; or the bottom seal and threshold have a gap you can’t close. Springs and cables under tension are genuinely dangerous, and a trained professional should handle them. Our team works on every major brand, so no matter what system you have, we’ll know how it works. Garage Door Repair Yonkers Pros offers free estimates in Yonkers – call (833) 690-5368 and we’ll quote the job before any work starts.
Frequently Asked Questions
Twice a year is the practical baseline for a Yonkers garage door, timed before and after the cold season. Heavy-use doors benefit from quarterly lubrication and inspection. Between those seasonal passes, a monthly five-minute check of the door’s sound and movement catches problems early. If the door is over ten years old or shows any wear, don’t wait for the seasonal visit. Call (833) 690-5368 for a free estimate.
Springs and cables fail first on most doors, followed by rollers and hinges, then bottom seals and thresholds. That’s why the checklist here starts with springs and cables. The order matters because a spring failure loads the cables, and a cable failure can damage the drums. If you suspect a spring or cable problem, don’t run the opener. Call a technician for a free estimate.
A light spray on the spring coils is safe and quiets the door, but don’t touch a spring that shows a gap, rust, or any sign of damage. Torsion springs are under heavy tension and can injure someone badly if released unexpectedly. Lubricate only what looks healthy, and call a professional if anything looks wrong. We handle spring repair as a dedicated service – call (833) 690-5368 for a free estimate.
Cold weather thickens lubricant and stiffens the door’s moving parts, so a marginal force setting that worked in summer now reads as an obstruction and triggers the reverse. Misaligned or dirty safety sensors cause the same symptom. Clean the sensors first, then check the seal and hinges for binding. If it keeps happening, the opener’s force setting may need adjustment. Call (833) 690-5368 and we’ll diagnose it with a free estimate.
If you can see a wide strip of daylight under the closed door, or the rubber feels hard and cracked, the seal needs replacing. In Yonkers, also look at the concrete threshold; if it has heaved or cracked from freeze-thaw cycles, the gap is coming from the slab, not just the seal. A technician can tell the difference and quote the right repair. Call (833) 690-5368 for a free estimate.
The written estimate you receive before work starts is the price. If the technician finds something the photos didn’t show, you’ll get a revised estimate and a clear explanation before anything is approved. No work begins without your agreement. That’s how we handle every job. Call (833) 690-5368 for a free estimate and an upfront number.
The Bottom Line
A garage door maintenance checklist works when it’s sequenced by failure risk, not by part order. Springs and cables come first because their failures cascade. Rollers, hinges, and tracks come next because they drive noise and uneven wear. The bottom seal and concrete threshold matter most in Yonkers, where freeze-thaw cycles work the slab all winter. The opener’s safety reverse and force settings are the safety checks you run twice a year, without fail. Lubricate the right points – spring coils, drums, trolley, hinges – and leave the sealed rollers and the track alone. Photograph everything before you call so your estimate is accurate. When the work involves springs, cables, or a door that’s off-track, hand it to a trained technician. Our team works on every major brand and we’re ready when you are. Call (833) 690-5368 for a free estimate.
Written by the team at Garage Door Repair Yonkers Pros.